We will create a React app and turn it into a Firefox/Chrome extension.
What is the difference between web apps and browser extensions?
Browser extensions are also based on web technology, with several differences than regular web app.
- It is loaded into popups, sidebars, configuration page or a devtool panel.
- It can use WebExtension APIs.
- Usually, it is not restricted by CORS.
- It is loaded through
manifest.json.
WebExtension API is created by Chrome. Then Firefox turned to WebExtension API, too. Other Chromium based browsers, like Opera and Edge, also support it. So WebExtension API is the actual standard of browser extension. The extension we created should work on most desktop browsers.
Create React app
It is hard to configure a React project from scratch. So many developers use create-react-app. It can also be used to create a WebExtension.
npx create-react-app foobar-extension --typescript --use-npmThe command above creates a React app built with NPM and TypeScript. You can change those options as you want.
Modify manifest file
We already have the public/manifest.json file. It is for Progressive Web Application. Manifest file for WebExtension is a little bit different. We need to change it to the following format:
{
  "manifest_version": 2,
  "name": "Foobar",
  "version": "1.0",
  "description": "Foobar extension made with React.",
  "icons": {
    "192": "logo192.png",
    "512": "logo512.png"
  }
}
Custom build configuration
Create .env file at project root with the following content:
INLINE_RUNTIME_CHUNK=falseThis prevent inline JavaScript which breaks Content Security Policy.
Add toolbar icon and popup
Add the following lines in public/manifest.json :
{
  ...
  "browser_action": {
    "default_icon": "logo192.png",
    "default_title": "Foobar",
    "default_popup": "index.html"
  }
}
Build and test in browser
Run npm run build. The extension will be built in build folder.
Take Firefox as example, open about:debugging in address bar. Then click the “Load Temporary Add-on” button. Open build/manifest.json file under your project folder.
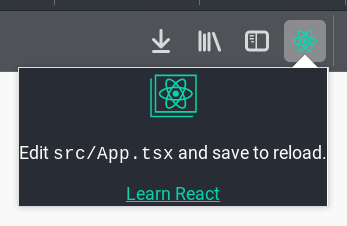
After loading the extension, you could see a new icon in the browser toolbar. Click it, you should see a small popup showing.
Add sidebar
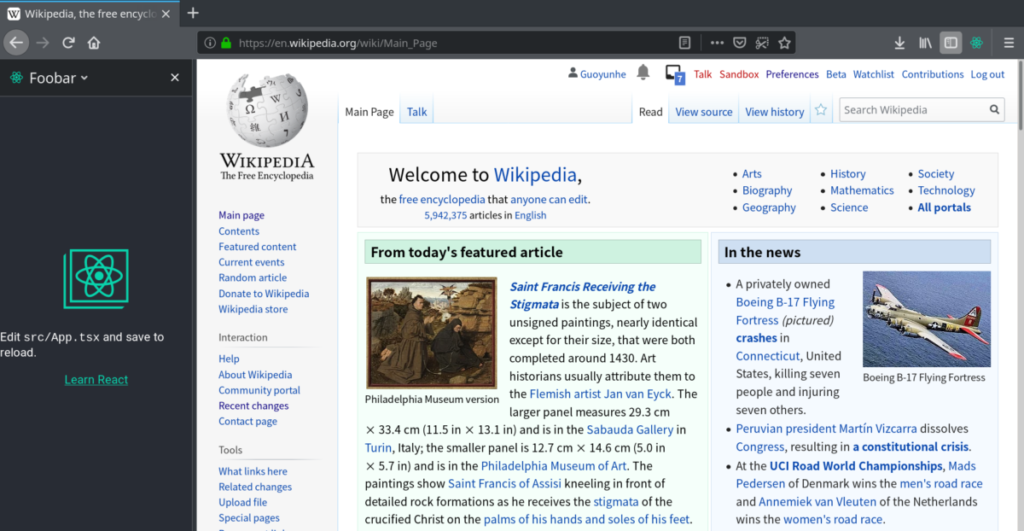
Sidebar is more persistent than popup. If users need to interact with between web page and extension view very often, sidebar is a better choice.
Similar to popup, you need to add configuration to public/manifest.json :
{
  ...
  "sidebar_action": {
    "default_icon": "logo192.png",
    "default_title": "AC Design Insight",
    "default_panel": "index.html"
  }
}
Build the app again. Go to about:debugging and reload the extension. You should see a nice sidebar appear.
Add developer tools panel
If your extension is for web development, developer tools is where you load the app. First, insert another line to public/manifest.json :
{
  ...
  "devtools_page": "devtools.html"
}
Then, create public/devtools.html :
<html>
<head>
  <meta charset="utf-8" />
</head>
<body>
  <script src="devtools.js"></script>
</body>
</html>
Then create public/devtools.js :
browser.devtools.panels.create(
  "Foobar",
  "/logo192.png",
  "/index.html"
);
Build the app again. Go to about:debugging and reload the extension.
Press F12 and you should see a new tab “Foobar” in developer tools.

The full code is available on GitHub.
Leave a Reply